“How to set up your future vehicle-home?”
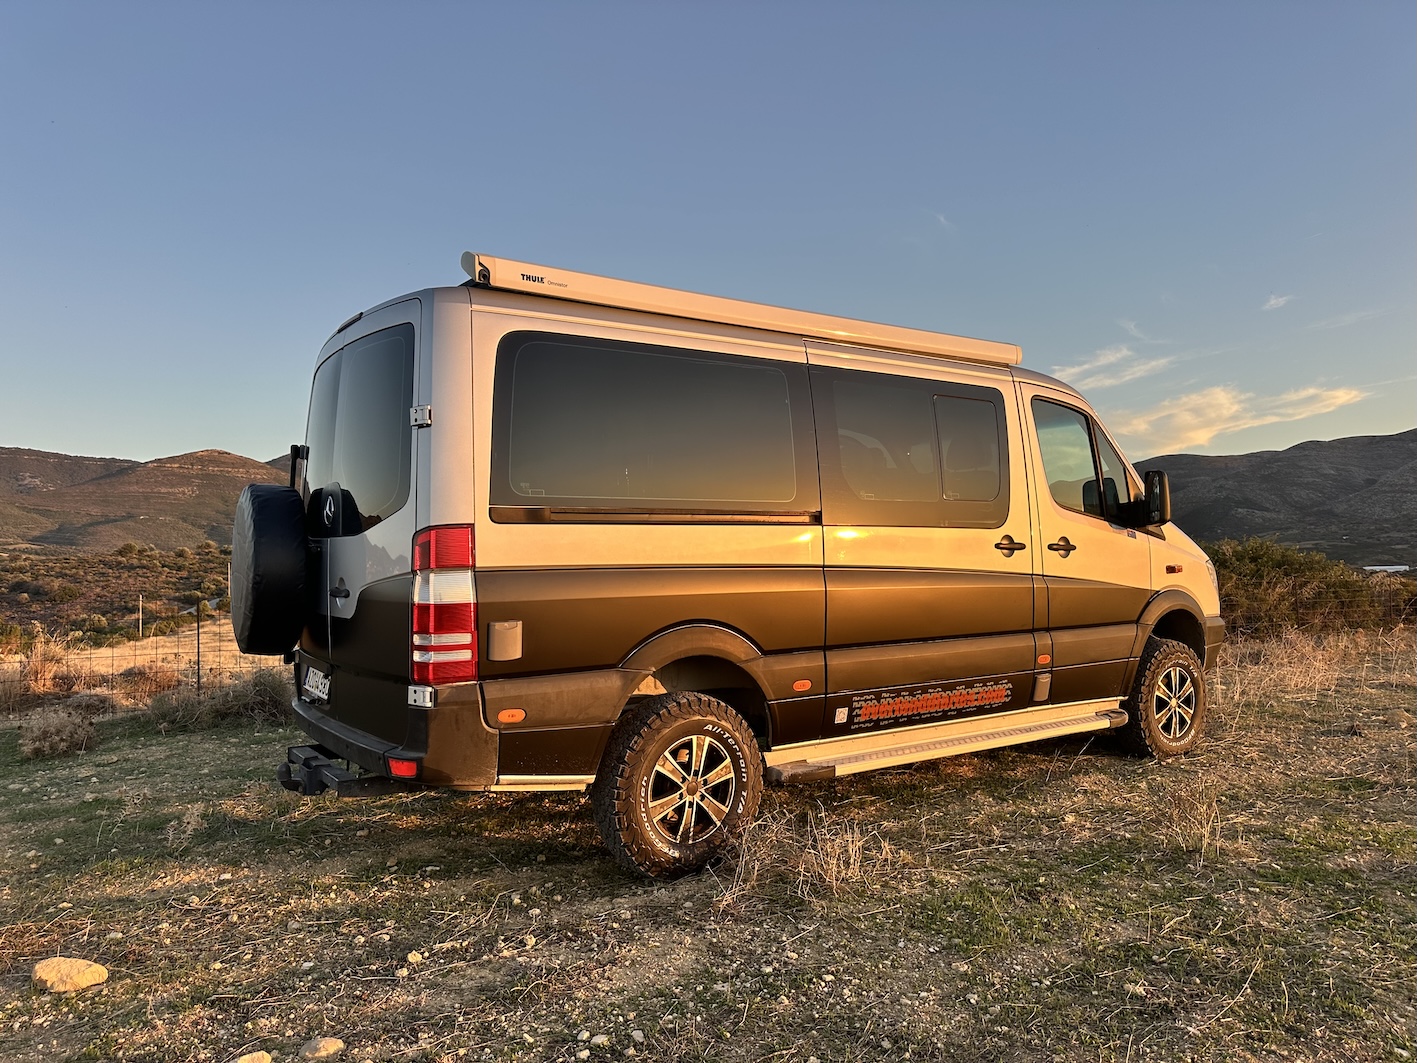
 So now that you have your vehicle, let’s set it up!!! Just to be clear, there are no right or wrong vehicle setups, equipment, modifications or upgrades. This falls under the personal preference and needs of specific overland trips. Some suggestions from us on the main areas where you have to focus on before anything else are: your safety personal and passengers while driving your vehicle, your day to day comfort in living inside it and lastly your storage capacity and the self sufficiency . You are equipping your vehicle to be comfortable, safe, reliable and capable and not to impress your off road club friends. Be aware, all those expedition magazines, outdoor shows and expos are mostly targeting for people who enjoy temporary 4×4 off-road trips, two hours away from home, and
  usually have overpriced, complicated
  equipment and applications that are useless for the everyday use that we overland travellers need them for. At the end of the day, you only want to be as safe, dry, cool or warm. Nothing else matters more (check our Moments & Momentum Safety post). You will probably like us come to appreciate that when things that you have never thought of go wrong the simple is always the better. Forget about all those hard core off road climb attempts or river crossings you can watch on Youtube .This are specific 4×4 trips that the vehicles are used for a specific time and they are not very far away from a mechanic or the owners home town.No mater how equip is your vehicle for such a situation try to avoid it if possible and only attempt it if there is no other alternative. This is not a Camel Trophy Series and you will never be followed
 by a support crew or a helicopter that will run to your rescue.
We have divided our Land Cruiser 120 into three main areas:
Sleeping area: We chose to install on the top of the car a rooftop tent that pops up in less than two minutes. We used the vehicle’s factory-built horizontal roof bars and added three vertical roof bars so the attached tent stays well firmed under the road corrugations. That way we kept the top load weight at the absolute minimum. Our tent offers excellent ventilation, lots of windows and openings, waterproof fabric and finally we invested in the manufacturers special thermal insulation for those cold nights.
Living area: The second row of seats is our living area. Here we have all our personal things. We could have removed the back row completely gaining more space but we thought that we might need to carry people in case of an emergency at some point so we left it as an option. Also here we have added our auxiliary battery system that is 
 connected to the car’s alternator for charging while driving and can also be charged by our small solar system in case we stay in the wild for a while. This system is completely independent from the car’s electrical system and can be easily isolated with a simple switch. The idea is to have an independent system that gives us the ability to operate except our fridge all the other electrical appliances (laptops, phones, batteries and led lights).
Storage area: This is located at the back of the car. This is where our drinking (clean) water tank (40 litters) and the pump are located, as well 
 as a drawing system that contains the kitchen wear, food supplies and various camping equipment. On top of that, except our fridge (46 litters) and another general storage unit, this is where we store our chairs and table. On the side removable panels of the drawing system we have all our tool kits, spare parts and recovery gear. As for sanitary issues now, the shovel and the toilet paper is our solution in the outdoors. We did not really want to set up a portable tent with a potty in it just to do the dirty business in the middle of nowhere.
When it comes to modifications now on the actual car, we tried to keep it as close to the factory standards as possible. We have added a 9500 lib winch, hidden under the bonnet and a snorkel to provide our engine with clean air. We have also attached on the back of the car a small awning that allows us to have a shelter while using the kitchen when it is raining. Lately we have also added a light bar at the front to have some extra light when we go off the beaten track.

 An important factor to keep in mind is that the weight of your equipment should always be as much or even less than the amount that the manufacturer of the car is suggesting. Finally we would like to point out the fact that overlanding is an ongoing knowledge and learning experience and as before our departure for this trip we added things to our previous kit, I am sure we will do the same in the present kit in the near future. Be safe, be ready, have fun and enjoy overlanding!!![:]